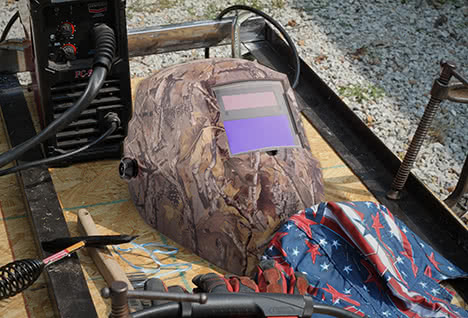
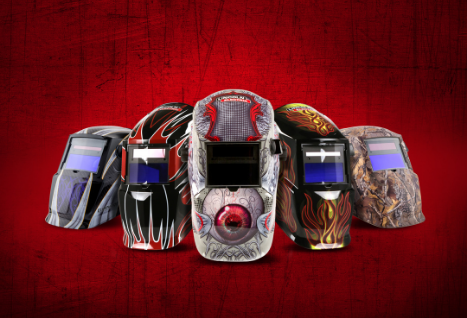
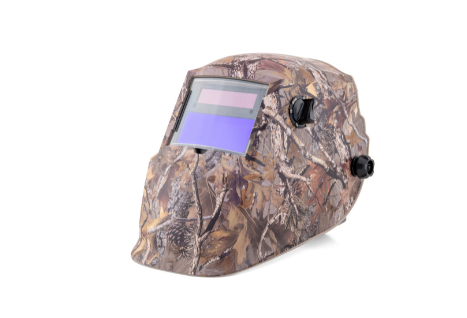
Auto-Darkening Welding Helmets have a lens that automatically changes from a light state to a dark state when arc welding starts. The lens automatically returns to a light state when the arc stops.
Auto-Darkening Filter
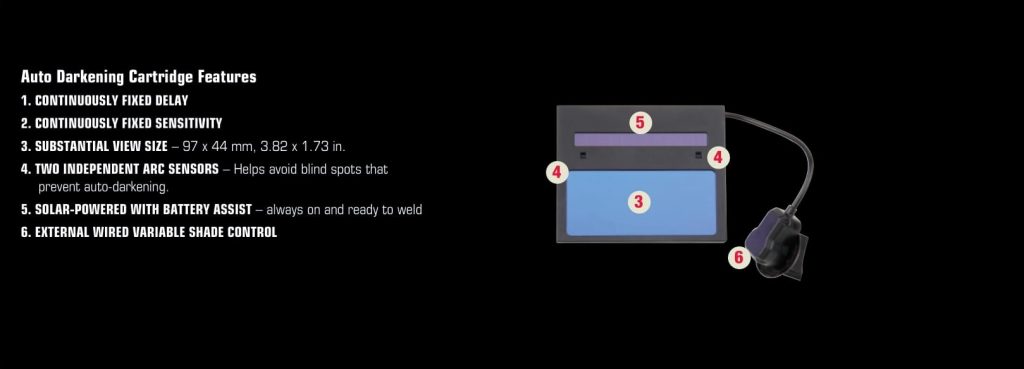
Lincoln Electric auto-darkening helmets contain an Auto-Darkening Filter (ADF) cartridge. Auto-darkening filters in Lincoln Electric helmets are designed to protect the user against ultra-violet and infrared rays both in the dark and light states. Most Lincoln Electric retail helmets ADFs have these features:

Power
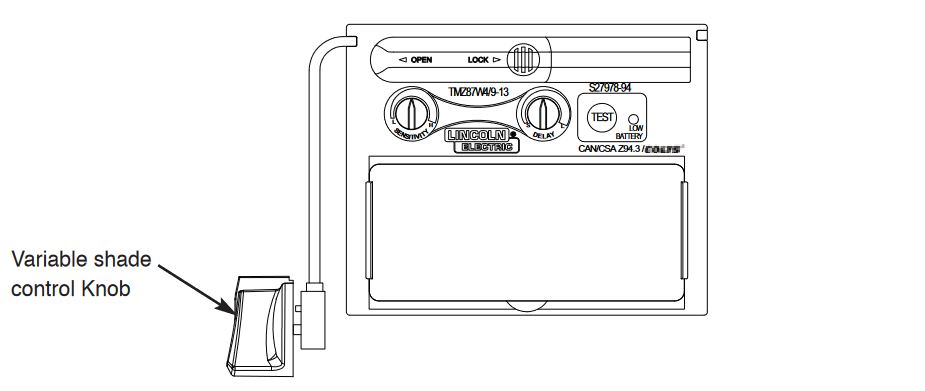
Most Lincoln Electric retail helmets are solar powered and have a back-up battery power supply which are needed to power the auto-darkening function. Battery installation is required prior to use. The batteries are located at the top of the ADF cartridge.
Solar-Power Charging and Battery Back-Up
The helmet can be placed in sunlight to charge. Do not store the helmet in a dark cabinet or other storage area for long periods. While welding, the arc also charges the ADF cartridge.
Batteries also must be functional. Most Lincoln Electric retail welding helmets have a Battery Test function located on inside of the helmet. Replace batteries when LOW BATTERY light is lit.
IMPORTANT: Before welding, always test to be sure the ADF cartridge is charged.
Prior to welding, you should test to ensure the ADF cartridge is fully charged and operating properly. Always follow manufacturer’s recommendations but here are a few tips.
Test your shade cartridge prior to welding by directing the front of the cartridge toward a bright source of light, then using your fingers to rapidly cover and uncover the sensors. The cartridge should darken momentarily as the sensor is exposed. Other ways to test include a short glance at the sun, or using a torch striker to see if the sparks darken the lens. Some welders have found using a cell phone as another method for testing the ADF.
How to set the Shade Level
Lincoln Electric retail auto-darkening helmets have shades from 7-13, or 9-13. Some have an additional grind mode. Basically, the higher the shade level, the less light is transmitted through the lens.
Shade levels can be adjusted using the variable shade control knob located on the outside of the helmet.
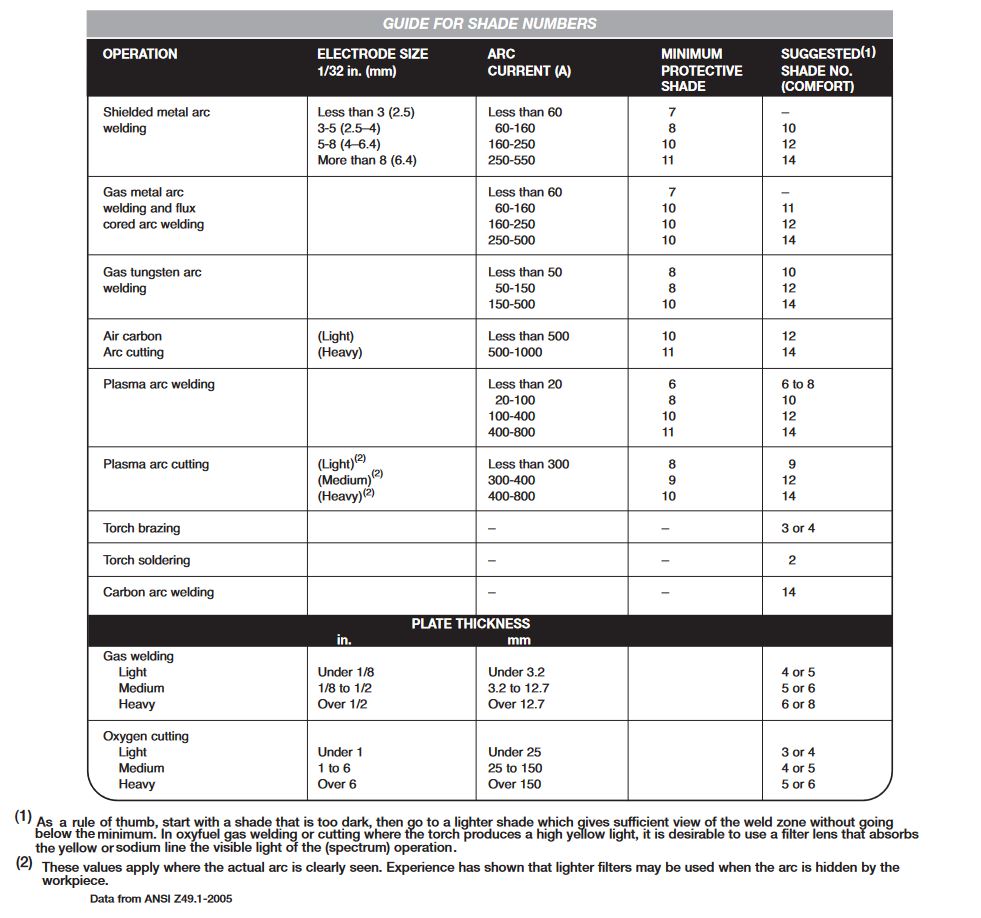
The following chart should be used as a starting point when selecting the appropriate shade level.
SHADE GUIDE SETTINGS
HELMET CARE AND MAINTENANCE
Instructions for most Lincoln Electric retail helmets:
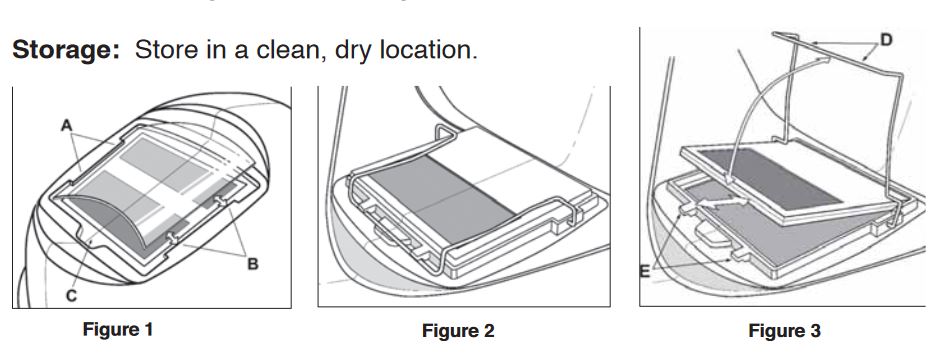
Replacing Front Cover Lens: Replace the front cover lens if it is damaged – cracked, soiled or pitted. Place your finger or thumb into recess (C) at the bottom edge of the cover lens and flex the lens upwards until it releases from the edges marked A and B. (Refer to figure 1). Use only the replacement front cover lenses specified by the manufacturer.
Replace the Inside Cover Lens: if it is damaged (cracked, soiled or pitted). Place your fingernail in recess above cartridge view window and flex lens upwards until it releases from edges of cartridge view window.
Change the Shade Cartridge (See figure 2)
Fitting New Cartridge: Take the new shade cartridge and pass the shade control device cable under the wire loop before placing the cartridge into its retaining frame inside the helmet. Hinge down the wire loop and ensure the front edge of the loop (D) is properly retained under the retaining lugs (E) as shown in (figure 3). Position the shade control device to the inside of the helmet with the shaft protruding through the hole. Secure shade control device to shell. On the outside of the helmet, push the shade control knob onto the shaft.
Installing an Aftermarket Magnifying Lens: Unclip the wire loop (D) from retaining lugs (E) and move hinge up. Place magnifying lens over ADF viewing area and retain with wire loop.
Cleaning: Clean helmet by wiping with a soft cloth. Clean cartridge surfaces regularly. Do not use strong cleaning solutions. Clean sensors and solar cells with soapy water solution and a clean cloth and wipe dry with a lint-free cloth. Do NOT submerge shade cartridge in water or other solution.
ARC Rays can injure eyes and burn skin. Before welding:
Always inspect helmet and filter lens to be sure they are fitted properly, in good condition and not damaged.
Check to see that the clear lens is clean and securely attached to the helmet.
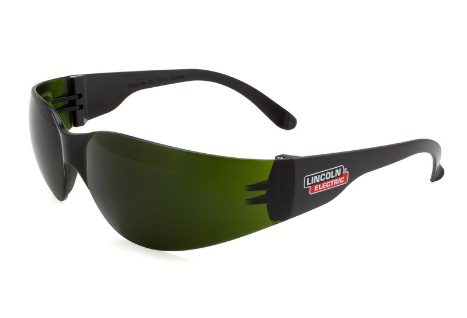
Always wear safety glasses or goggles under the welding helmet and protective clothing to protect your skin from radiation, burns and spatter.
Ensure that optical radiation from other welderʼs arcs in the immediate area does not enter in from behind the helmet and auto-darkening filter.
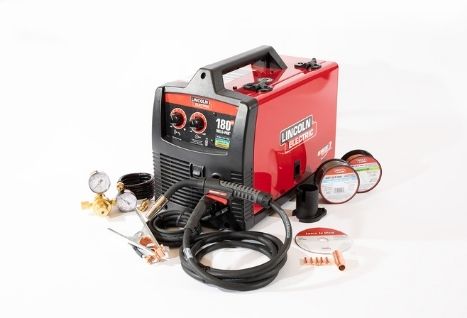
Get started on your next project by checking out these featured products:
